Level 9 - Death Mountain
This map is a little different, but it should get the job done! Remember, shoot Ganon with the silver arrow and use your sword !
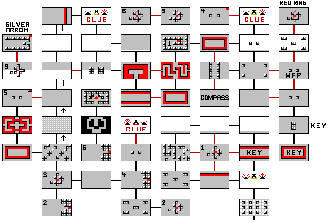
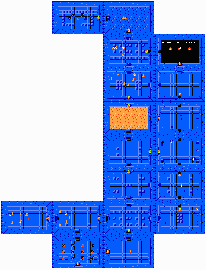
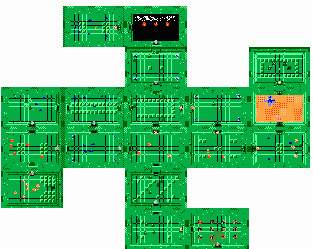
Overworld Maps
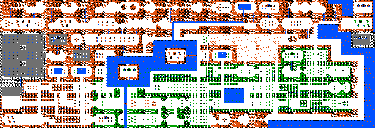
These are 2 maps of the overworld. I recommend that you download the High Quality version, to get a better view. It may be a good idea to print them out once you got them.
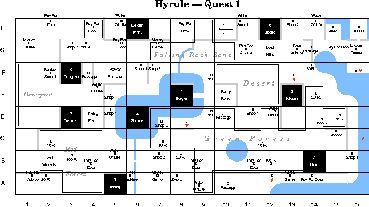
Dungeon Maps
Level 1 - Eagle
This is the first dungeon of the Zelda Series. The monsters that reside here are the Stalfos skeletons, blue Keese bats, red Goriyas, gels, and the Wall Masters. Items you'll find in this dungeon are the Bow, which is in the basement 5 screens north and 1 west of the entrance screen, and the wooden boomarang, which is guarded by Goriyas 3 screens north and 1 sreen east of the entrance. The guardian of this dungeon is the Aquamentus, who resides 4 screens north and 2 screens east of the main door. You'll find 2 bombable walls here, which you can take advantage of to save 2 keys.
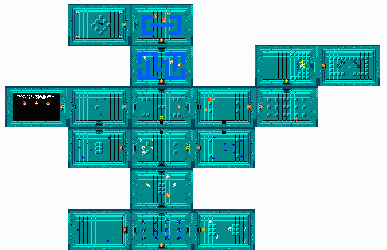
Level 2 - Moon
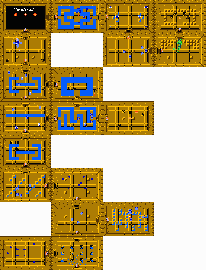
Next comes Level 2, of course, which is the home of the Rope snakes. Here you'll discover the magical boomarang (from the entrance, 3 rooms north and 2 east), which travels farther and faster than the wooden weapon of the same name. Also take note that you will only need to use 1 key in the entire dungeon, and still get into every room, for almost every wall can be blasted with a bomb. Other than the Rope snakes, some monsters you'll find in this creepy dungeon are blue Keese bats, gels, strong blue Goriyas to guard the magical boomarang, and red Goriyas to guard the level's guardian. You'll also meat the mini-boss "Moldorm" in this level. Once you complete the southern rooms of the underworld palace, you'll come across the level's guardian, the Dodongo, which is 7 screens north and 1 screen east from the main room.
Level 3 - Manji
You may be wondering about the shape of this dungeon, but the official name for the dungeon is "Manji". Nintendo is not, and has never had, any association with the Nazis of any sort. :) Anyway, Level 3 is also the first place that you'll meet the extremely difficult Darknut monsters. In the basements of this dungeon, you'll discover the raft, which gives you access to Level 4. You'll find the basement's staircase north 1 screen and west 3 screens from the main door. Monsters you'll encounter in this maze include the Zols and Gels, and blue Keese bats. The giant monster that guards this oddly shaped palace is called the Manhandla. This monster will shoot you with balls of fire, while speeding up when attacked.
Level 4 - Snake
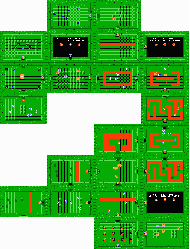
Now that you've reached the dungeon that resides on the island, things will begin to get more and more difficult. In this dungeon, you must collect the ladder, fight the Gleeok monster, and battle new monsters, like the Vire creature.
Level 5 - Lizard
Although Level 4 was the beginning of the difficult Levels, Level 5 gets even more difficult, with the new monsters in the Gibdo mummies and the Blue Darknuts. You'll acquire the Recorder here, which you'll use later against the Digdogger who guards the dungeon.
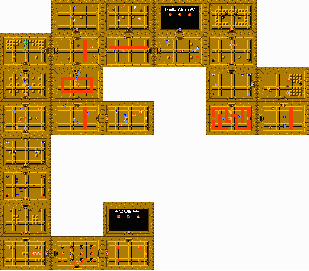
Level 6 - Dragon
Again, the level of difficulty grows in this, the 6th dungeon. You'll meet another 2 new monsters here, with the Red and Blue Wizzrobes. Here is where you'll find the magic rod, as well as battle the one - eyed Gohma monster.
Level 7 - Demon
For once, the difficulty actually decreases from Level 6 to this, the 7th Level. You'll need lots of bombs here, you won't be able to pass through this Level without them. In the dungeons, you'll discover the Red Candle. And at the end of the labyrinth, you'll battle the Aquamentus, who originated from Level 1.
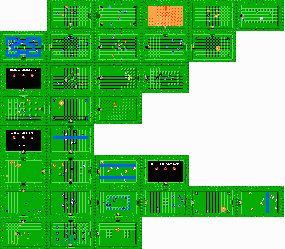
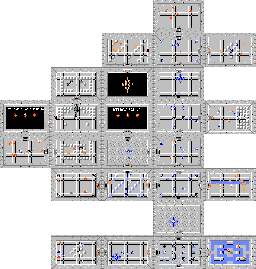
Level 8 - Lion
This Level is the most difficult so far, with Level guardians from previous dungeons everywhere, and Blue Darknuts scattered in various rooms. You'll find the Magic Book and Key in the dungeons here, and battle the Gleeok at the end.

THE LEGEND OF ZELDA